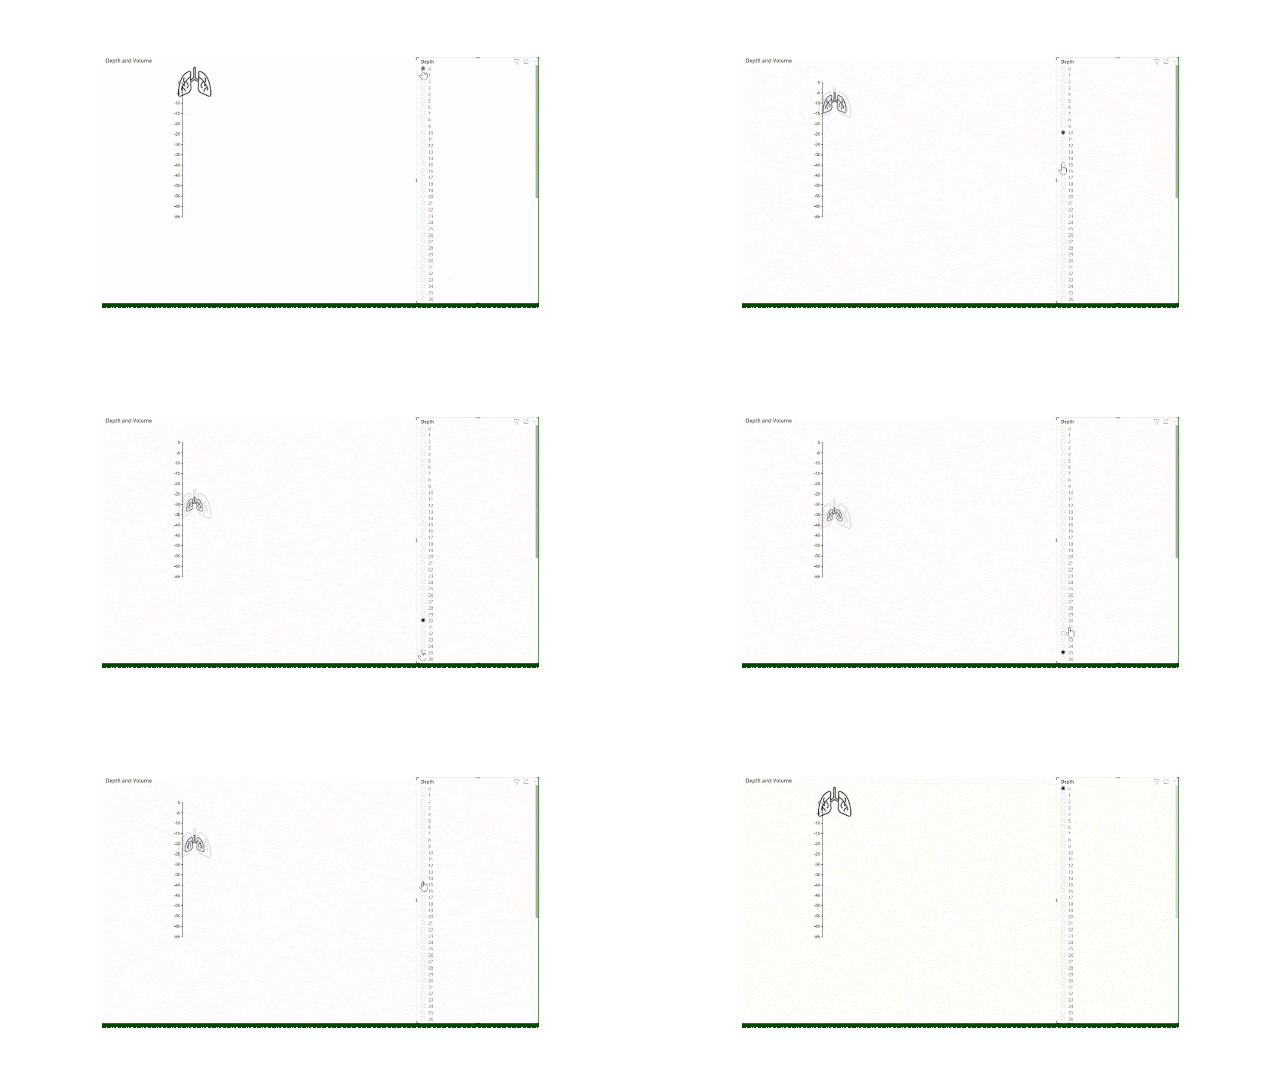
This weekend was the Freediving NZ AIDA Depth Nationals in Lake Taupo, New Zealand. Freediving athletes competed to see who could dive the deepest on one breath safely.
Freediving 101
If you're familiar with freediving you can skip this part, but since it's a bit of a niche sport I thought I'd better give a quick description of what happens at competition. All athletes dive with a depth lanyard which is attached to the competition line. This lanyard has a carabiner at one end, similar to a climbing harness, and ensures that the diver can be easily rescued if something were to go wrong. All athletes must nominate a specific depth that they will attempt to reach on each day of the competition, and must also choose from the following disciplines:
- Free Immersion (FIM) - Hop in the water with your weight belt. No fins or other propulsion aids are allowed in this discipline, but you do get to pull yourself along the competition line, sparing your leg muscles and giving your arms more of a workout.
- Constant Weight No Fins (CNF) - Like free immersion, no fins or propulsion aids are allowed for this discipline either. You also can't use the competition line to help you at all - all the power to dive down and back up must come from your arms and legs. This tends to require the most energy to make progress and therefore has the shallowest depths. A modified breast stroke will get you farthest in this discipline.
- Constant Weight BiFins (CWT-Bi) - For this discipline you get to wear a fin on each foot. Long freediving fins are encouraged. Finning or a kick similar to free-style stroke is the most efficient way to make progress in this discipline.
- Constant Weight (CWT) - If you choose CWT as your discipline you can choose to wear a monofin and have the added benefit of being able to kick like a dolphin. This is generally faster and more efficient than using bifins, so depths tend to be deeper for this discipline.
On top of the time and distance challenges, depth adds increased pressure as the diver descends. Deeper Blue are a great resource for freediving facts. Every 10 meters of depth, the pressure increases by 1 bar. This means that your lungs are 25% of their original volume by the time you get to 30 meters (100ft).
Visualizing Lung Volume at Depth - Charticulator Custom Visual
To help visualize the size of a diver's lungs as they dive deeper, I created a custom visual for Power BI using the Charticulator Custom Visual builder for Power BI.
Charticulator is designed to make custom visuals accessible to non-developers and enables you to create your own Power BI visualizations without any code. You need to get familiar with a few new terms, but I'm pretty pleased with how my first attempt turned out.
I chose to use Charticulator because I wanted to customize the shapes, labels and locations of the items in the chart.
GlyphThe shape of the data points is called a 'glyph' and you can use shapes, lines, images or icons for the glyph. I went with simple icons and uploaded them directly from my PC.
You may be able to see in the image above how the Image of the glyph is a data url, but also has a link icon to the right of it meaning that you could connect this to your data points if you wanted it to be more dynamic.
In the Size property, you can see I have selected the Volume. I didn't need to write that formula myself - it was super easy to select from the Charticulator build interface:
All I had to set was the maximum size I wanted the icon to be, and Charticulator takes care of the calculations necessary to scale it according to my data points.
Plot Segment
Every glyph must go inside a plot segment. Charticulator gives you lots of options for formatting these - using (x,y) coordinates, radial, or even custom curves. Don't get confused by the word 'scaffold' - it's just a fancy term for axis when there is no data to apply to it.
When designing the Freedive Effects custom visual, I used two plot segments in my chart. One for the diver, and one for the lungs.
Guide
Guides are really important in Charticulator custom visuals as they determine where the elements will be placed in Power BI when the visual is resized. I found it challenging to visualize how my visual would look in Power BI without testing it. As I progressed, I started to learn the importance of guides and how they fit into the custom visual development and what impact that has on the visual in Power BI final version.
How to use Charticulator
There are plenty of blogs and videos out there on how to use Charticulator. Just get stuck in and have a play. Here's a good Getting Started blog from Charticulator themselves.
You can check out the Demos page of my website to find the custom visual download for this Freedive Effects Power BI custom visual if you'd like to modify it or use it for your own reporting.


